Getting started with your first machine learning project might actually much easier than it seems, if I can do it, certainly anyone can.
I did not use:
- Any Math
- An expensive computer
- Complex programming concepts
(2 / 22)
Here's what I did use:
- A free GPU on Google Colab
- Python
- TensorFlow
- Numpy
- Pandas
- Kaggle
- Scikit-Learn
- Google
- StackOverFlow
(3 / 22)
This project was actually a Kaggle challenge based on the MNIST dataset which is a collection images of 70,000 hand written digits.
You can find the dataset here👇
🔗//kaggle.com/c/digit-recognizer
(4 / 22)
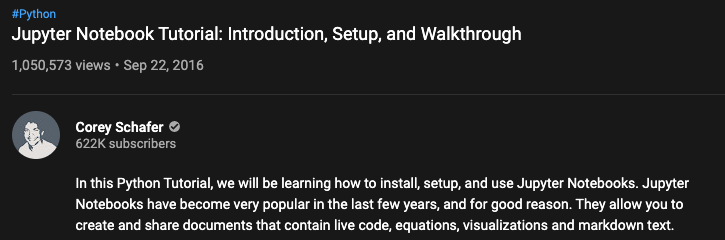
Before we go over the code of this project, it is highly reccomended that you complete this free course on YouTube👇
Machine Learning foundations course
🔗//youtu.be/_Z9TRANg4c0
Code👇
🔗//colab.research.google.com/github/PrasoonPratham/Kaggle/blob/main/MNIST.ipynb
(5 / 22)
Now let's look at the code.
We'll first download the dataset for this project using the kaggle API for Python.
Keep in mind that you'll have to provide an API key so that this code works.
(6 / 22)
There are some issues with the names of the files, so we'll rename and then unzip them using the zip library.
(7 / 22)
We'll end with 3 files, we can discard the sample_submission.csv as we won't need it. test.csv and train.csv is what we are interested in.
The train.csv will be used for training our neural and test. csv will be used for making predictions.
(8 / 22)
The prediction will be sent to kaggle.
Using pandas we can load both of them as dataframes, which basically converts .csv file data(excel like data) python arrays so that we can put them in our neural network.
We'll also import TensorFlow and Numpy while we are here.
(9 / 22)
Let's look at the data, train.csv is what we are interested in.
The training data set, (train.csv), has 785 columns. The first column, called "label", is the digit that was drawn by the user. The rest of the columns contain the pixel-values of the associated image
(10 / 22)
Each image is 28 pixels in height and 28 pixels in width, for a total of 784 pixels in total. Each pixel has a single pixel-value associated with it, indicating the lightness or darkness of that pixel, with higher numbers meaning darker.
(11 / 22)
This pixel-value is an integer between 0 and 255, inclusive. We will pass the pixel values in our neural net and exclude the label, we don't want it to know what number is in the image! It'll have to learn that on its own.
(12 / 22)
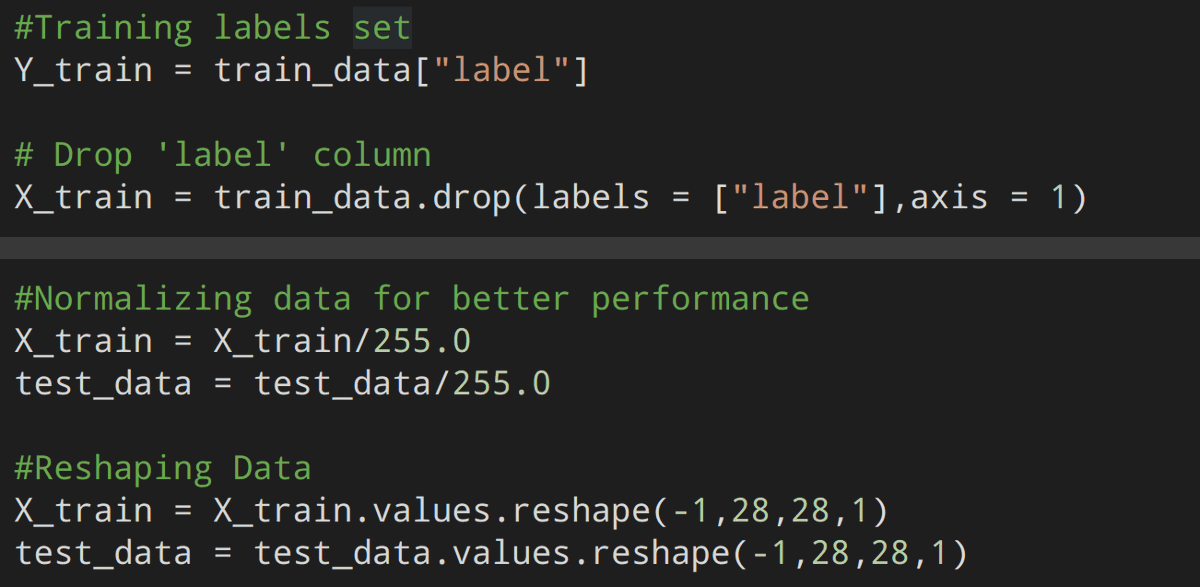
This code "drops" the label column and stores it in the Y_train variable, we will also divide each pixel value by 255 to make it a value between 0-1 as neural networks perform better with these values and now we "reshape" the values which go into our neural net.
(13 / 22)
Remember how I said, we'll only use the train.csv for training our neural net? We'll split the train.csv into 2 parts, one for actual training and the other for validating how well our neural net did at the end of each iteration.This boosts the accuracy of our model.
(14 / 22)
Note that here I have chosen 10% of our dataset for validation and the rest for training, you can experiment with the values yourself if you wish to do so.
(15 / 22)
Here comes the fun part, we'll now define our neural network. The images will pass through these and our model will be trained. We'll be using this thing called a "convolution" and "pooling".
(16 / 22)
A convolution in simple terms is like applying a filter (like you do on instagram) to a photo, this increases some of the details in the images and helps improve our neural network's accuracy.
(17 / 22)
Pooling does a similar thing by taking the most prominent pixel in an area and throwing out the others.
I found this amazing thread on convolutions by
@aumbark which you should definately check out👇
https://t.co/CnsQvMpHZE (18 / 22)
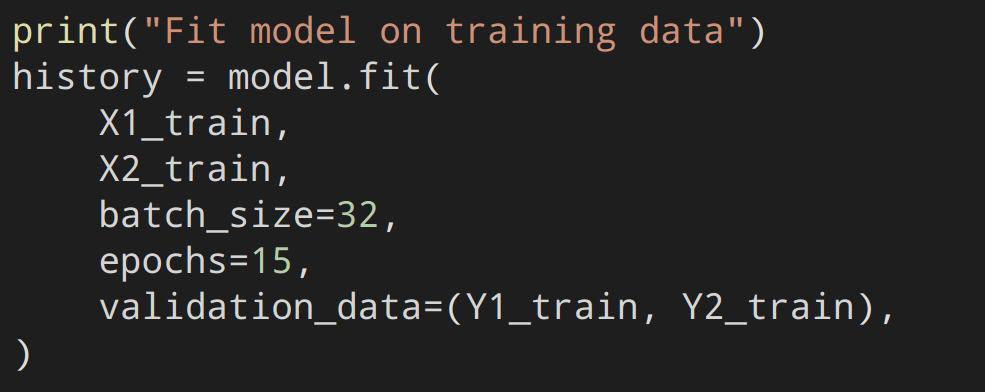
Now we simply pass our data 15 times (aka epochs) through our neural network and validate it each time using the validation data we made earlier.
(19 / 22)
You'll notice that we get certain metrics in the output, at the end you should see a loss and accuracy similar to the one in the photo.
(20 / 22)
Congrats!🥳 You've trained the neural network, now can make the predictions on the test data and store them in a csv file which we'll submit to kaggle. (You can use the file icon in the left to browse through the files)
(21 / 22)
You've learnt a lot by this point, be proud of yourself and dive deeper into machine learning, good luck! 🙌
(22 / 22 🎉)