Last weekend, I made a threat on the ongoing #SocialMedia shutdown in Uganda and some implications on the future of #internet & Uganda's #digital agenda.
The thread attracted a lot of engagement and questions. Tonight, I will share some final thoughts on the subject. (1)
Conceptually, social media sites are the largest on-boarding platforms for internet users in Uganda. Notably, Facebook, WhatsApp, Twitter, Instagram & Snapchat attract the highest internet traffic- which drives demand for other platform services e.g Google and Zoom recently.
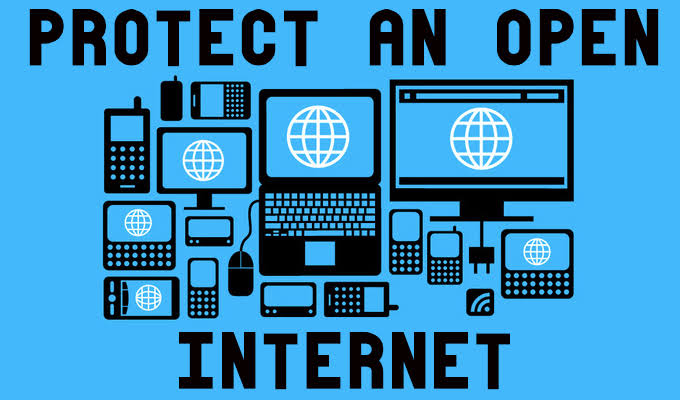
So- when we talk about an "open internet", we mean the FULL resources of the internet. Any encumberance on selected applications has ripple effects across the entire network thus jeorpadizing standardization of internet/data transmission which is essential for innovation & growth
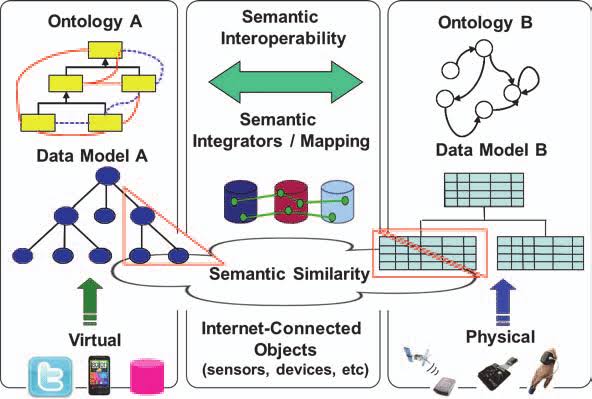
Furthermore, shutdowns hinder network interoperability (technical ability to plug/link one digital product or service into another product or service). Interoperability is the heart of the "Internet of things" eg business, devices, networks, services, e-govt, integration etc #IoT
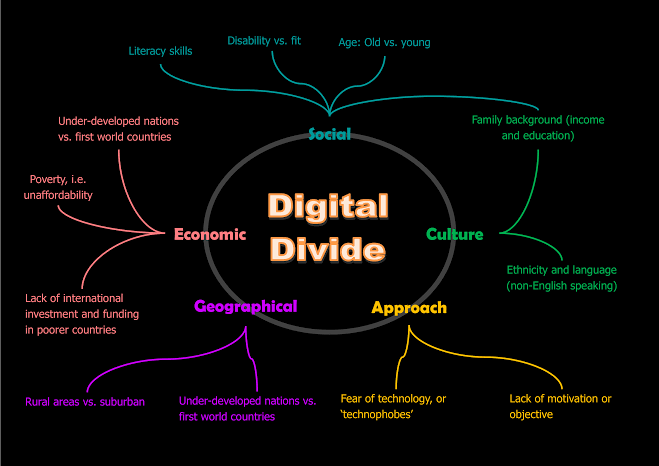
Because the internet is a global resource, shutdowns enhance a digital divide (the gap between demographics and regions that have access to modern ICTs, and those that don't or have restricted access). Ironic that 3rd world countries have the highest number of shutdowns globally.