A great onboarding experience is essential.
This leads to better retention and less buyer remorse.
Zapier and GHL make this a breeze.
Check out
@NickAbraham12 and
@imranye to become a Zapier master.
And
@linkedin_king and
@sean0to10k for GHL.
Alright, let’s do it.
Step 1: The email
When you close the sale, it’s time to start the process.
The easiest way to do this is to shoot off an email with all the information.
We’ve got a trigger in GHL to do just that. When a lead is marked as “Won”, it automatically sends out the “sale” email.
Step 2a: The contract
Create a new funnel in GHL with three pages. The first will be your contract.
This only works if you have set pricing (aka 1k setup fee + 300/lead). If you have multiple options, you can create multiple flows and send out the corresponding email.
Step 2b: The contract
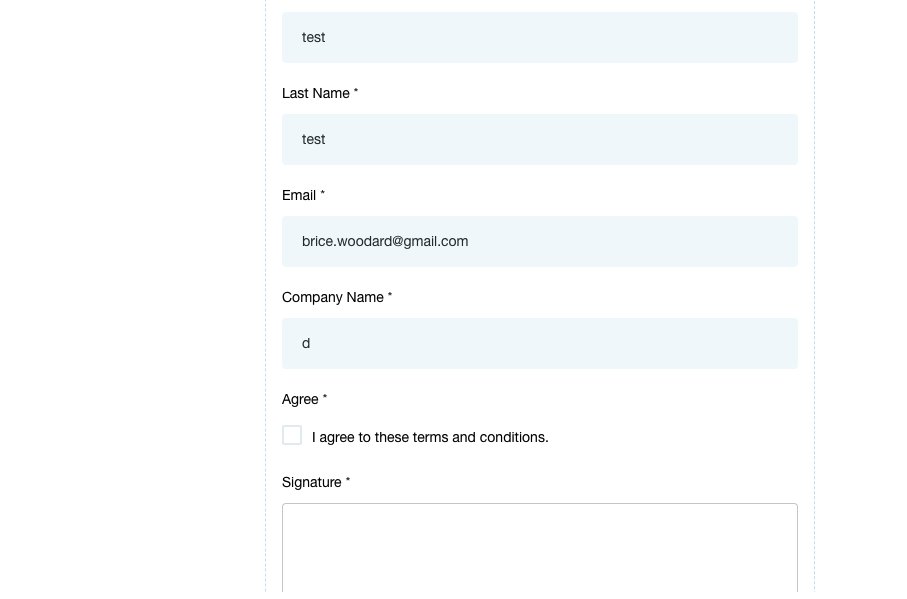
The contract page will obviously have the contract but add in personal data and a box for a signature. The client can sign that and it will be stored in their contact info in GHL.
.Have a submit button that takes them to the second page in the funnel.
Step 3: The payment
In GHL, you can set up products and payment forms right on the page. I use this page for the setup fee.
Set up a 2-step order form and collect your payment.
Once that’s done, have the submit button go to the third page…
Step 4a: Onboarding form
Now that they’ve signed the contract and paid, it’s time to start onboarding. Create a form in GHL and embed it on the page. This also is beneficial because it saves these to your contact info in GHL.
Step 4b: Onboarding form
Once they’ve filled that out, just have a message pop up on submit telling them the next steps. Something as simple as “Thanks for completing onboarding. You’ll receive Slack access/emails, etc…”
Step 5: Send Info To Zapier
Now that your new client has put in all that info, it’s time to use it to finish up onboarding.
Create a new trigger in GHL that sends a webhook whenever that onboarding form is created. Use a “catch hook” in Zapier to do this.
Step 6a: Create Slack Channel
Once Zapier has that info, it’s time to create a new Slack channel for your client. The only downfall is that it creates a public channel, so you’ll have to go manually set it to private.
Step 6b: Invite Users To Slack Channel
This is an additional step in Zapier. Choose Slack again and “Invite Users To Slack Channels”. Use the mapped email from earlier in the sequence to automatically send an invite to the client.
Step 7: Create Google Drive Folder
Use the “company” name for your onboarding and create a new Google Drive folder. Additionally, if you have a preexisting folder with new client templates (KPIs, response sheets, etc), you can use Zapier to copy that info to the new folder.
Step 8a: Create New SubAccount In GHL
Use the “Add account” zap for GHL. This is great because you can have it fully set up with a specific snapshot.
Step 8b: Create New SubAccount In GHL
The more information you can map to this the better, but here is what is required:
- First name
- Last name
- Email
- Do you want to generate a password automatically?
- User type
- User role
- Business name
- Country
Step 8c: Create New SubAccount In GHL
For user type -> account. User role -> admin.
For the country, I always choose the US because that’s where most of our business takes place. That’s an easy change once you get the account set up.
Step 8d: Create New Subaccount in GHL
And finally, I set a password manually. It’s a generic one and I advise them to change it once they get logged in.
Their user name will be the email you map and you can create the password.
Step 9: The final email
Send them an email recapping everything they should be expecting.
At this point, it should be:
An invite to Slack, Google drive folder access, their login details for GHL, and any other information you want to finish up with.
Step 10 (optional): Notifications
This is optional but you can set up triggers in GHL to send you an email/notification every time a form is submitted.
Client sign the contract? Send an email.
Get paid? Send an SMS.
It just keeps you in the loop.
Step 11: Enjoy a beer
Congratulations. You just saved 2 hours. Enjoy a beer.