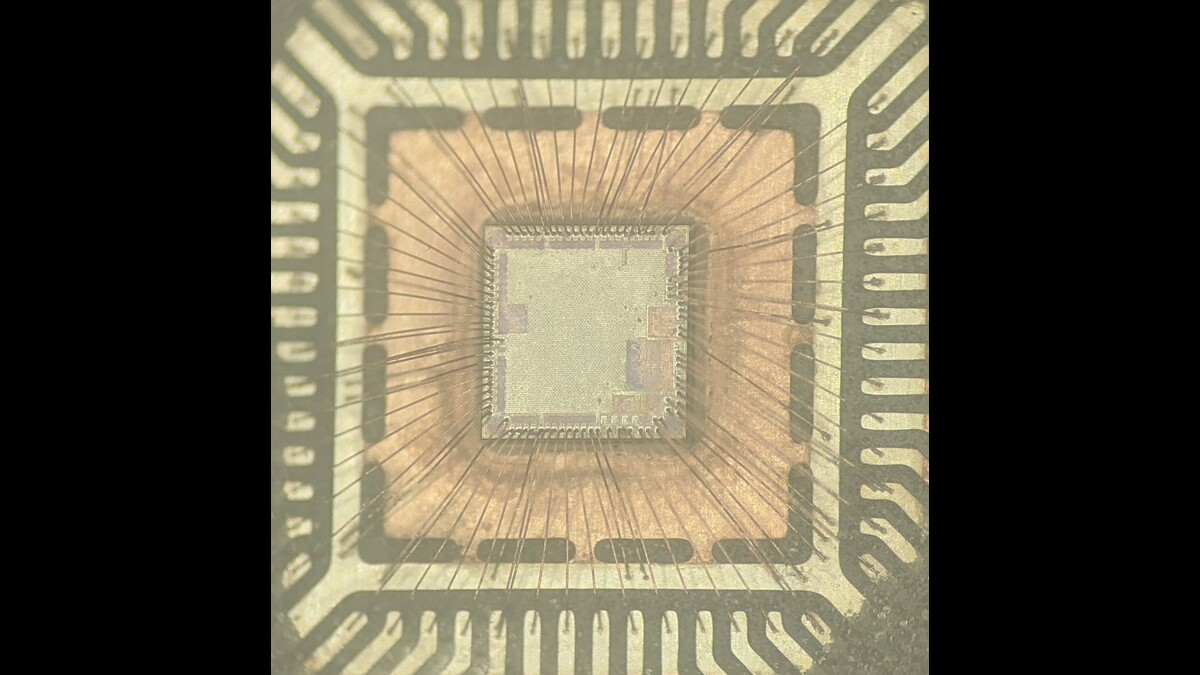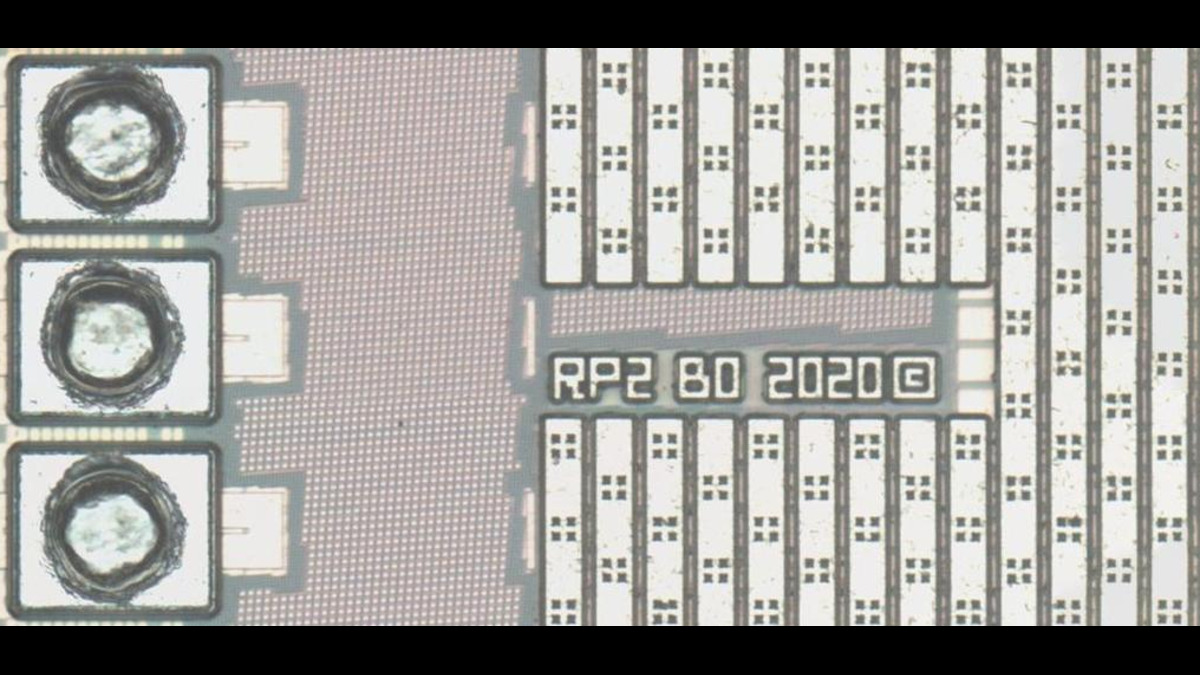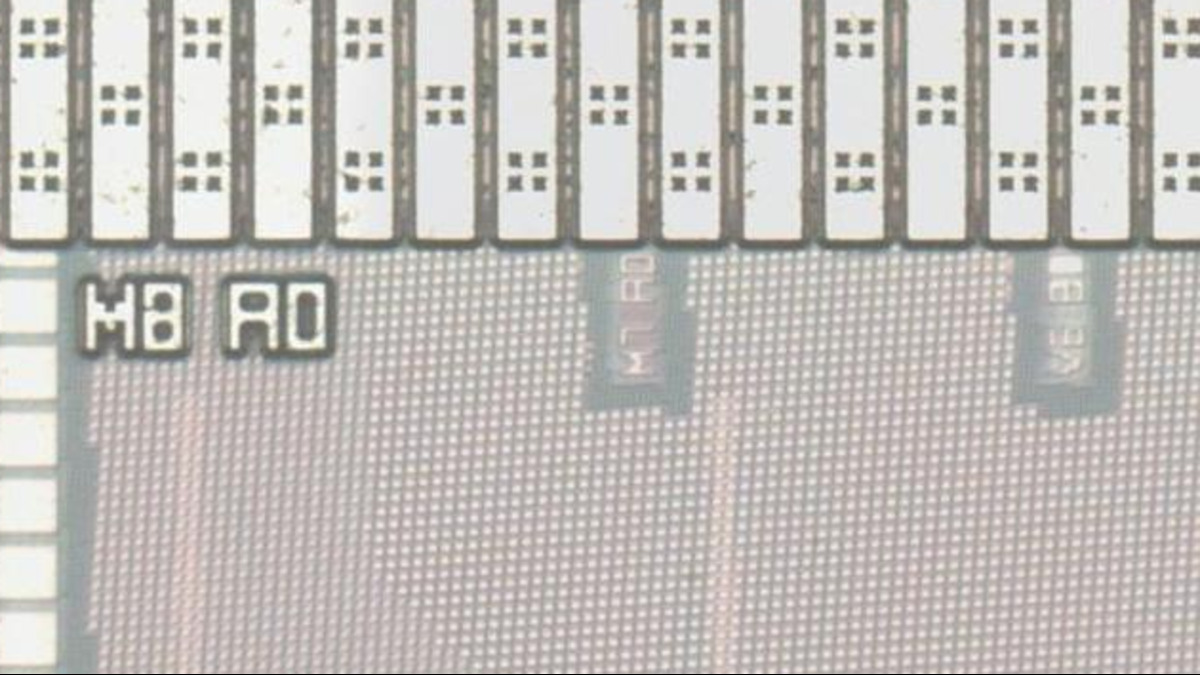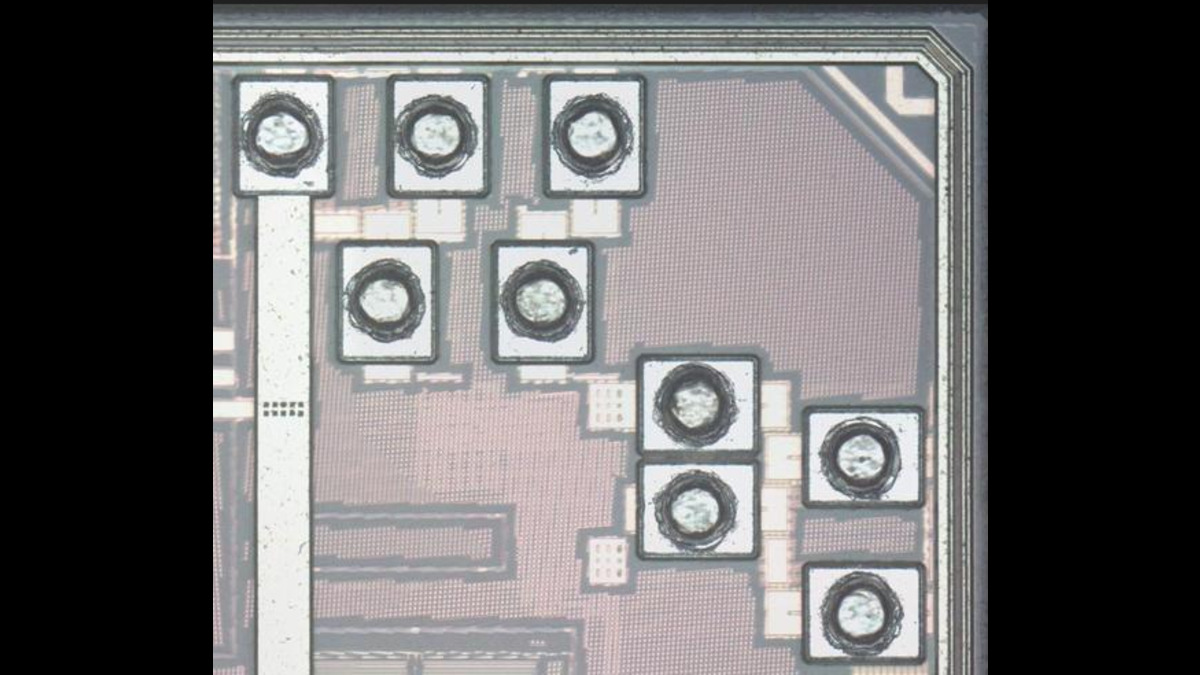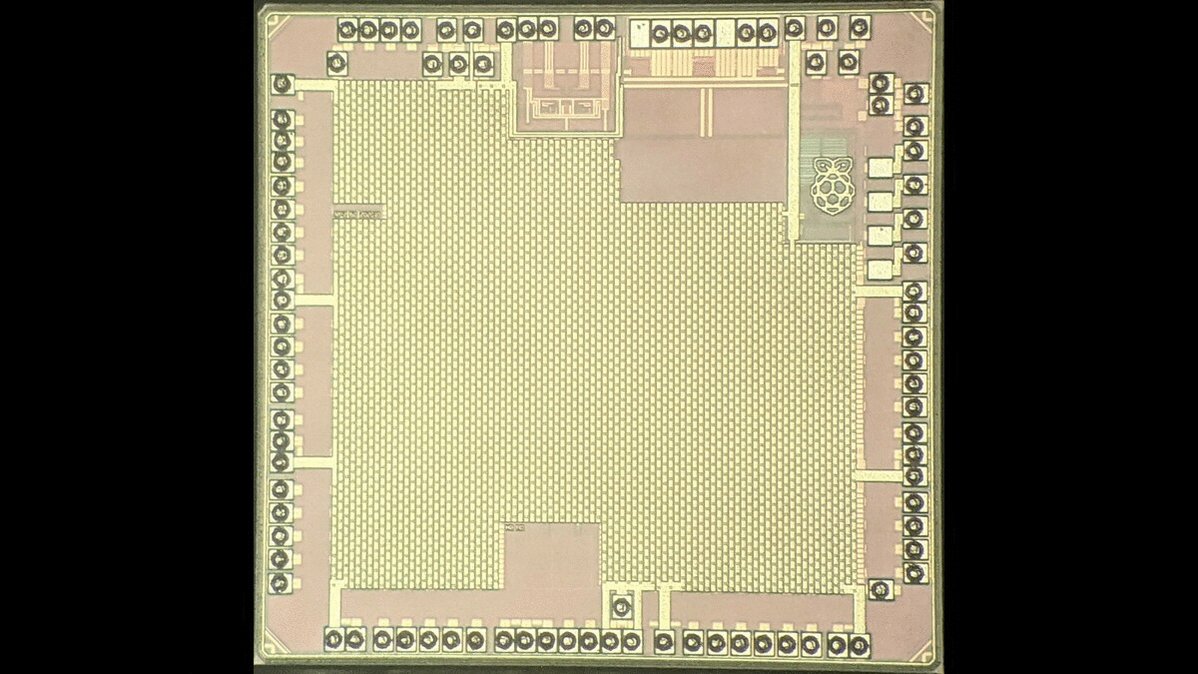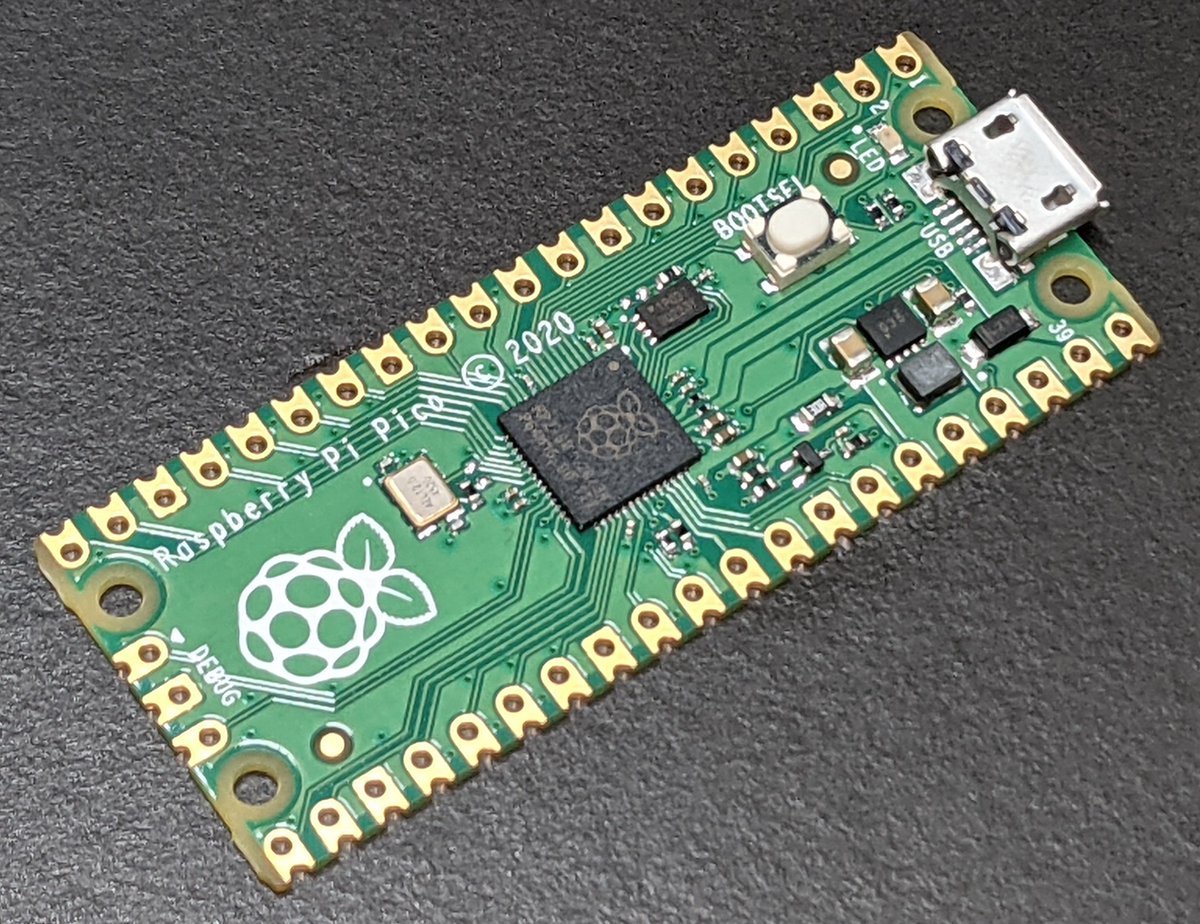
#RaspberryPiPico silicon teardown time!
Board as received optical + x-ray images
Inspecting package. X-ray shows bond wires easier after removing thermal slug
Thermal slug removed w/ HCl + H2O2
Decapped to show copper bond wires connecting die to package pins. Initially used only nitric acid which destroyed copper bond wires (last image). Fixed by switching to mixed nitric + sulfuric acid
Zoomable top metal die image: https://t.co/MXqDBvNgqG
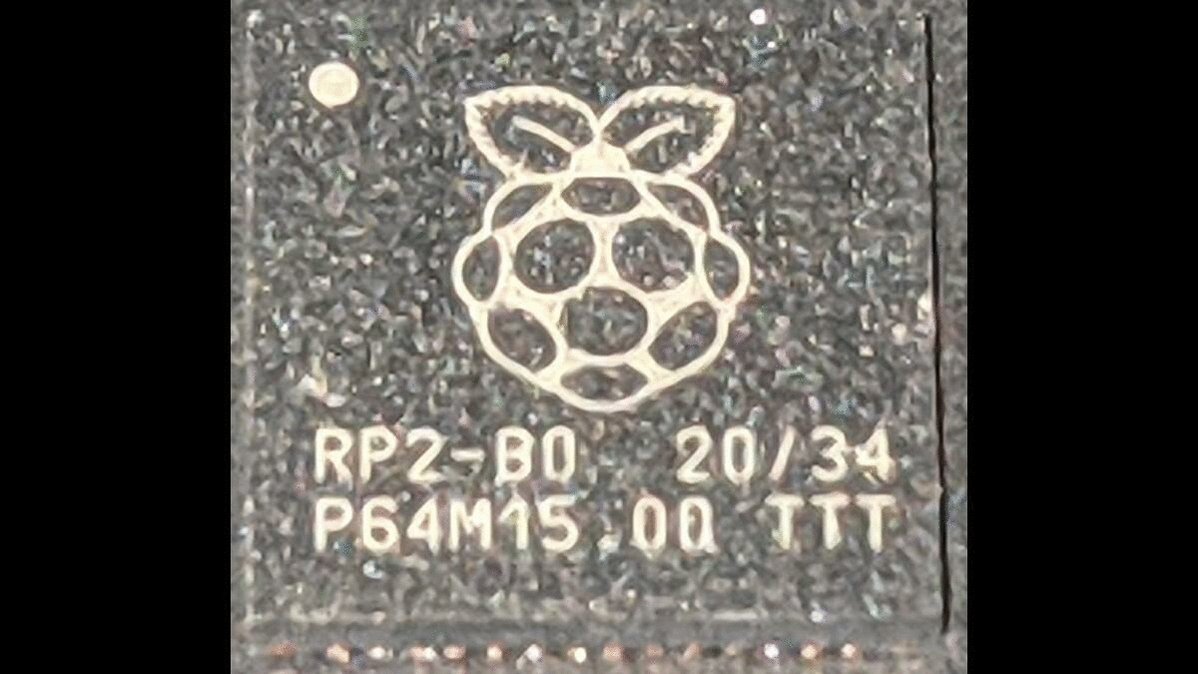
@Raspberry_Pi marking it's turf
B0 => chip revision. On every layer? A chip I worked on did this and unfortunately when we fixed a bug on a *different* metal layer we didn't want to remake the masks with the text. Thus "B1" chips were mislabeled as B0!
M8 => eight metal layer chip. Higher metal layers are coarser to carry more power and reduce manufacturing costs. You can also see M7 and M6 marked
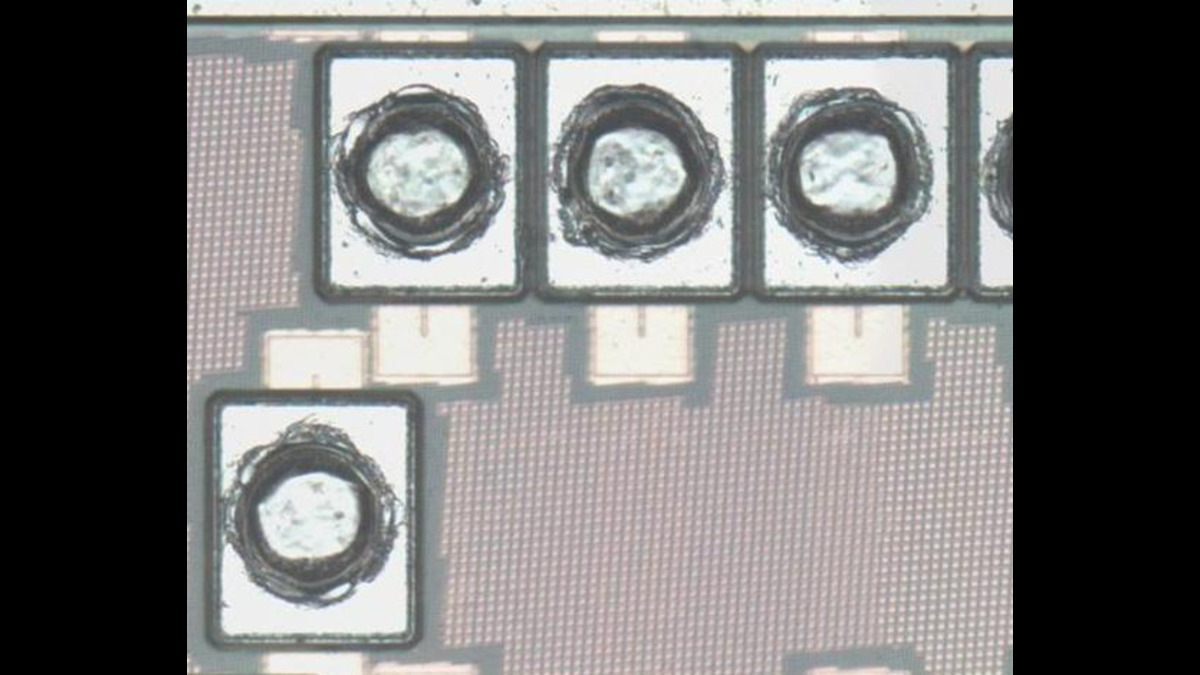
Copper bond wires were eaten by nitric acid leading little dimples where they used to be attached to the bond pads
Several unused power pads. Possibly breaks out internal core voltage for debug / test
Time lapse etching chip layers
This area wasn't 100% etched, leading to vibrant blue/purple from SiO2 thin film interference
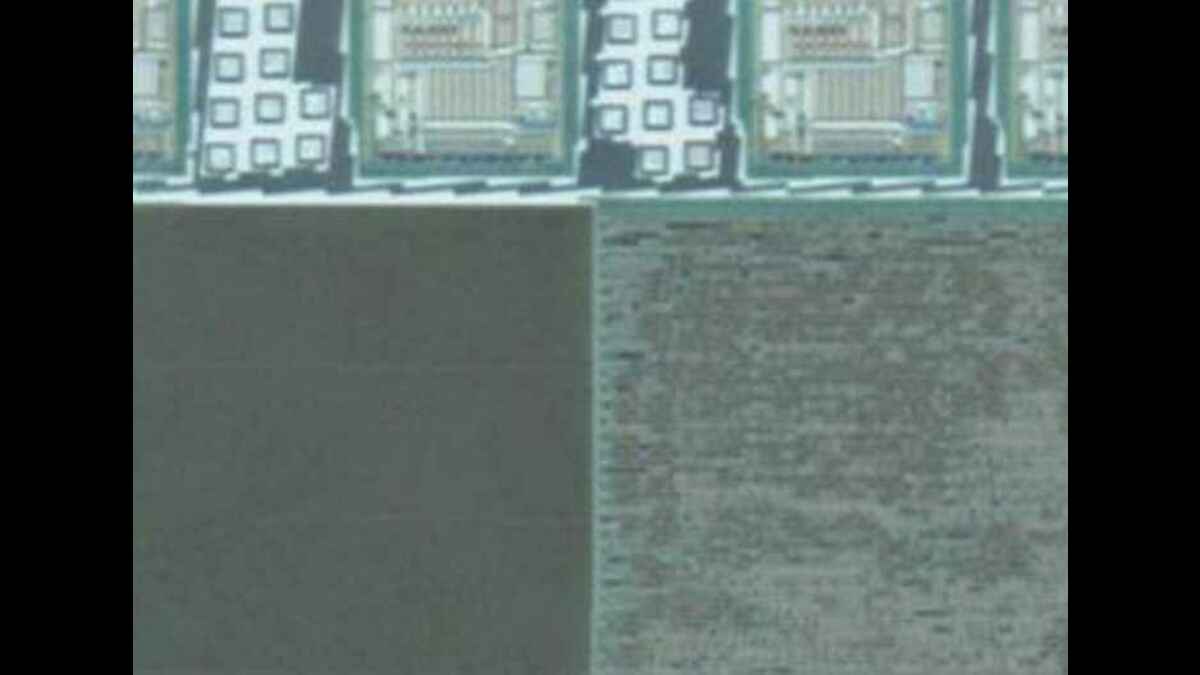
1) 20x air vs 2) 60x oil objective: 60x has higher resolution but lower depth of field, making the image appear different. Ex: although the lower left splotch is large, it's only visible in the 60x image. I might take SEM images later for better resolution
Transistors arranged into standard cells form the majority of the digital logic. This includes both the CPU and the digital portion of most peripherals
A few different I/O showing logic, ESD protection, etc between the top metal and transistor layer. A number of different I/O IP blocks are used. Would be interesting to match them up to the datasheet for analog functionality like ADC, USB, etc
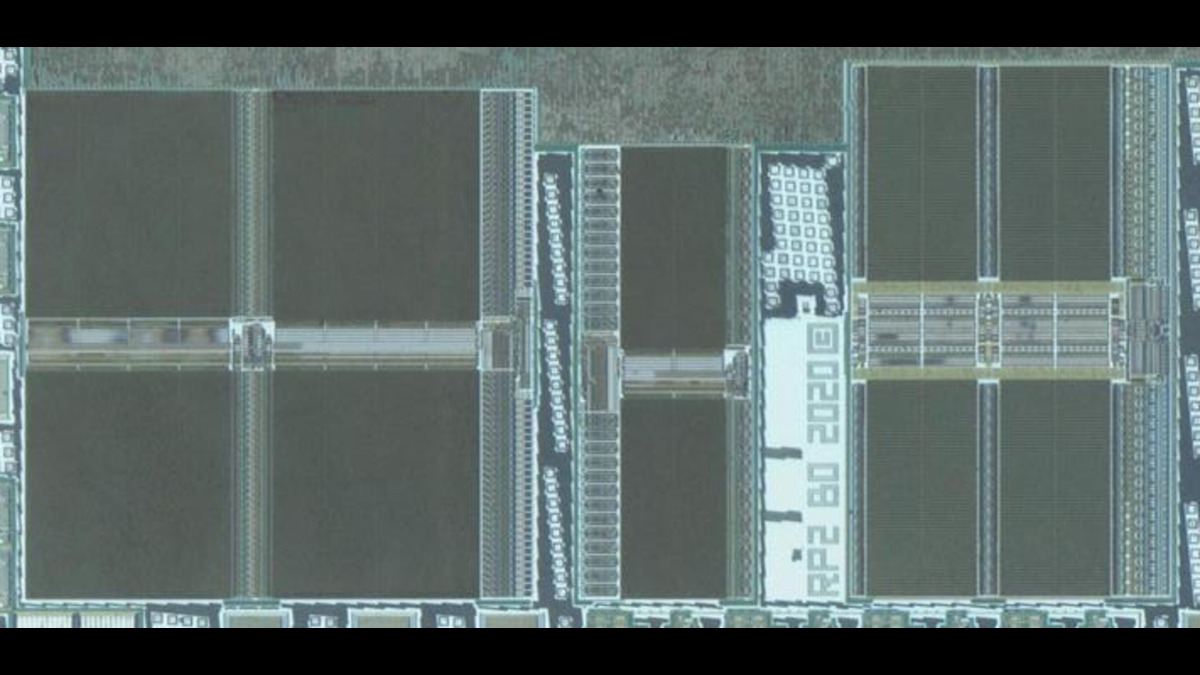
Memory, probably the boot ROM
SRAM is scattered throughout the die. By analyzing the memory sizes and comparing to the datasheet it might be possible to guess what some of these are for
CMP fill is added to unused areas to keep polishing more even when preparing for the next layer. As such, it looks like it was omitted on M8 (top metal) but is found on other layers
That's all for now. Hope you enjoyed and let me know if you want more information on something!

More from Tech

Ok, I’ve told this story a few times, but maybe never here. Here we go. 🧵👇


I was about 6. I was in the car with my mother. We were driving a few hours from home to go to Orlando. My parents were letting me audition for a tv show. It would end up being my first job. I was very excited. But, in the meantime we drove and listened to Rush’s show.

There was some sort of trivia question they posed to the audience. I don’t remember what the riddle was, but I remember I knew the answer right away. It was phrased in this way that was somehow just simpler to see from a kid’s perspective. The answer was CAROUSEL. I was elated.

My mother was THRILLED. She insisted that we call Into the show using her “for emergencies only” giant cell phone. It was this phone:


I called in. The phone rang for a while, but someone answered. It was an impatient-sounding dude. The screener. I said I had the trivia answer. He wasn’t charmed, I could hear him rolling his eyes. He asked me what it was. I told him. “Please hold.”
One of the best decisions I made during a very turbulent 2020 was to leave conventional coding behind and embrace the #nocode movement. @bubble made this a reality. Although my own journey thus far is premature, I’ve learned a lot so here’s a power thread on....


‘How I created @buildcamp sales funnel landing page in under 2hours’.

Preview here 👇

https://t.co/s9P5JodSHe

Power thread here 👇

1. Started with a vanilla bubble app ensuring that all styles and UI elements were removed. Created a new page called funnel and set the page size to 960px as this allows the page to render proportionately on both web and mobile when hitting responsive breakpoints.


2. Began dropping elements onto the page to ‘find the style’. These had to be closely aligned to our @buildcamp branding so included text, buttons and groups - nothing too heavy. Played around with a few fonts, colors and gradients and thus pinned down the following style guide.


3. Started to map out sections using groups as my ‘containers’ to hold the relevant information and imagery needed to pad out the sales pitch. At this point, they were merely blocks of color #ff6600 with reduced opacity set to 5% to ease page flair.

You May Also Like

महाभारत की कहानी कौन नहीं जानता।लेकिन क्या आपको पता है कि महाभारत के ज्यादातर पात्र किसी न किसी श्राप में फंसे थे।अगर ये श्राप न होते तो कदाचित महाभारत की कहानी कुछ और होती।हिन्दु पौराणिक ग्रंथों में विभिन्न श्रापों का वर्णन मिलता है व हर श्राप के पीछे कोई कहानी अवश्य होती है।


आइए आज जानते हैं महाभारत कथा में वर्णित कुछ श्रापों के बारे में।

1) राजा पाण्डु को ऋषि किन्दम का श्राप

एकबार महाराज पाण्डु शिकार खेलने वन गए।झाडियों के पीछे कुछ हिल रहा था। मृग है सोचकर राजा ने बाण चलाया जो जाकर ऋषि किन्दम और उनकी पत्नी को लगा।वे दोनो रति-क्रीड़ा में लिप्त थे।

जब राजा ने उन्हें देखा तो बहुत दुखी हुए कि ये मुझसे क्या पाप हो गया।बहुत क्षमा याचना के बाद भी किन्दम ऋषि ने पाण्डु को श्राप दे दिया कि जब भी वो किसी स्त्री को काम भावना से स्पर्श करेंगे उसी क्षण उनकी मृत्यु हो जाएगी।पश्चाताप करने, वे सिंहासन पे अन्धे राजा धृतराष्ट्र को बैठाकर...


..स्वयं अपनी रानियों कुंती व माद्री के साथ वन चले गए।पांडवों का जन्म भी कुंती को ऋषि दुर्वासा द्वारा दिए गए मंत्र से हुआ था जिसमे किसी भी देव का स्मरण कर उस देव से कुंती,पुत्र प्राप्त कर सकती थी।एक बार माद्री पे मोहित हो जब पांडु ने उसे स्पर्श किया,उसी क्षण पांडु की मृत्यु होगयी।


2) उर्वशी का अर्जुन को श्राप

महाभारत युद्ध से पहले जब अर्जुन दिव्यास्त्र प्राप्त करने स्वर्ग गए तो वहां उर्वशी नाम की अप्सरा उन पर मोहित हो गयी। अर्जुन ने जब उन्हें अपनी माता के समान बताया तो यह सुनकर उर्वशी क्रोधित हो गयी और अर्जुन को श्राप दे डाला कि तुम नपुंसक की भांति...